
feature:v1.0.13
English | 中文

![]()
![]()
Tencent Cloud COS MCP Server based on the MCP protocol enables large models to quickly integrate with Tencent Cloud Storage (COS) and Data Processing (CI) capabilities without coding.
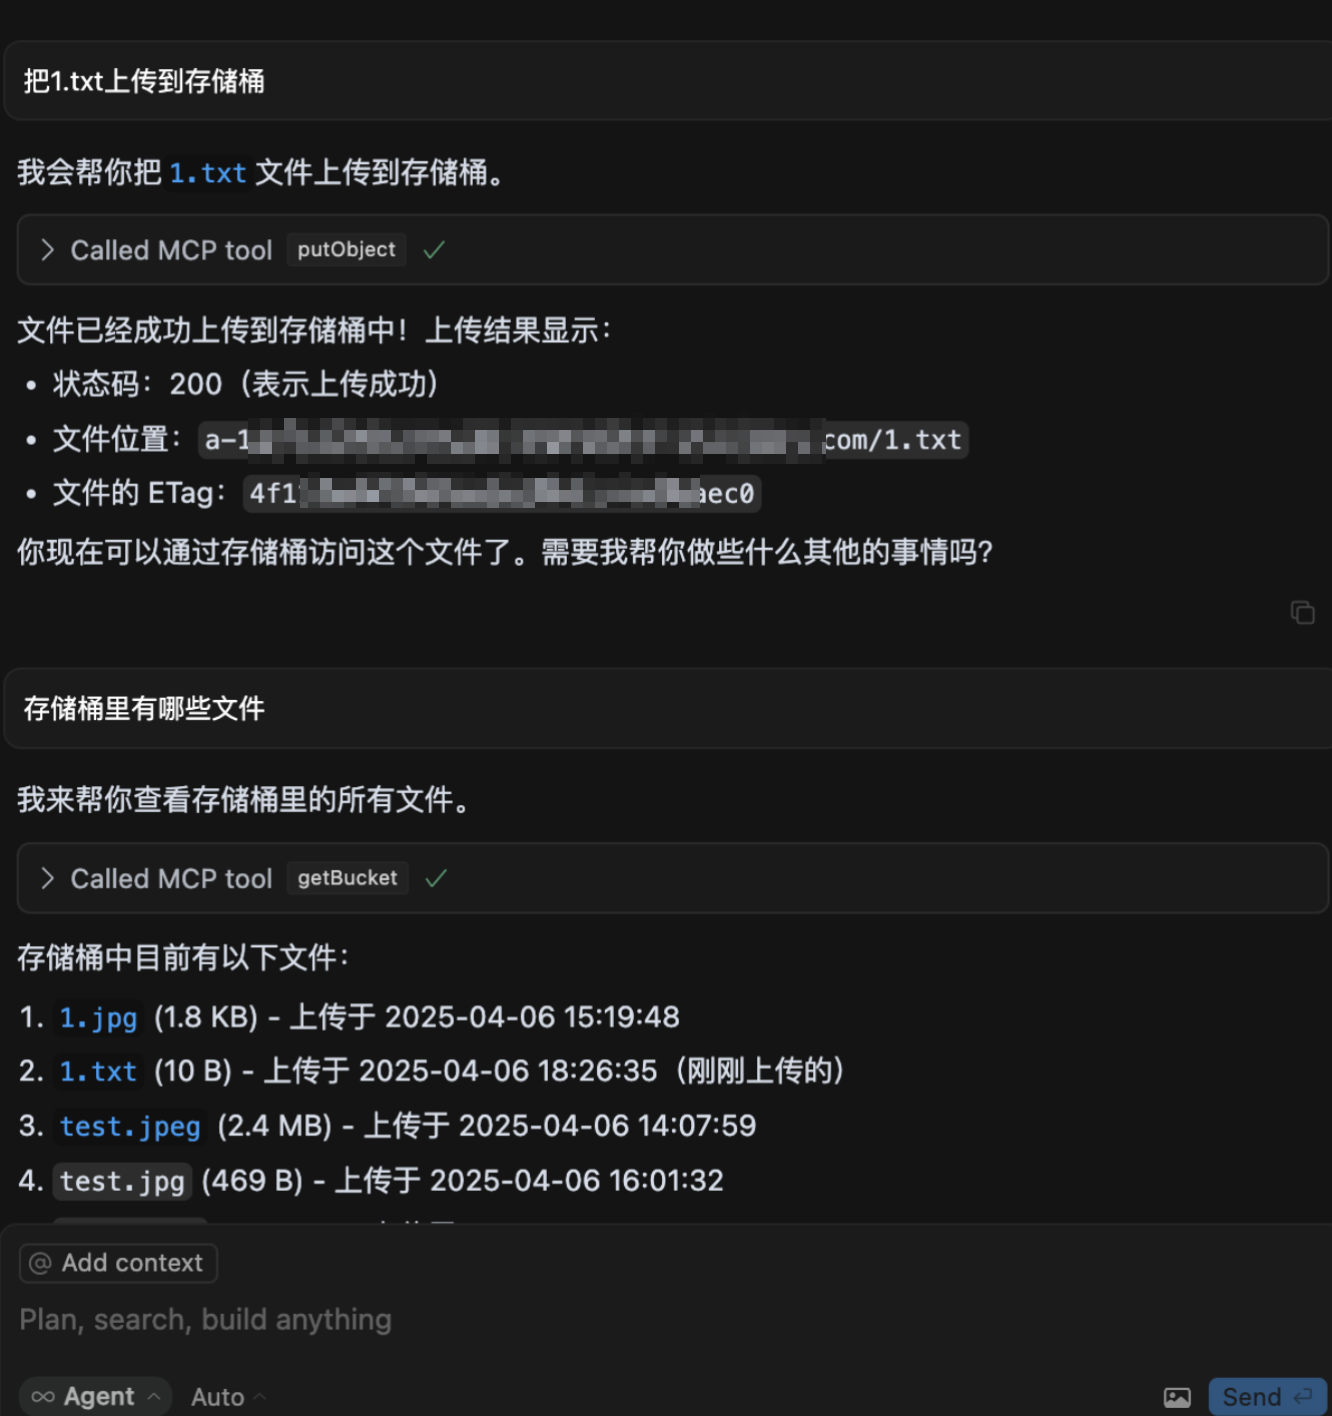
- ⬆️ Upload files to the cloud
- ⬇️ Download files from the cloud
- 📋 Retrieve cloud file list
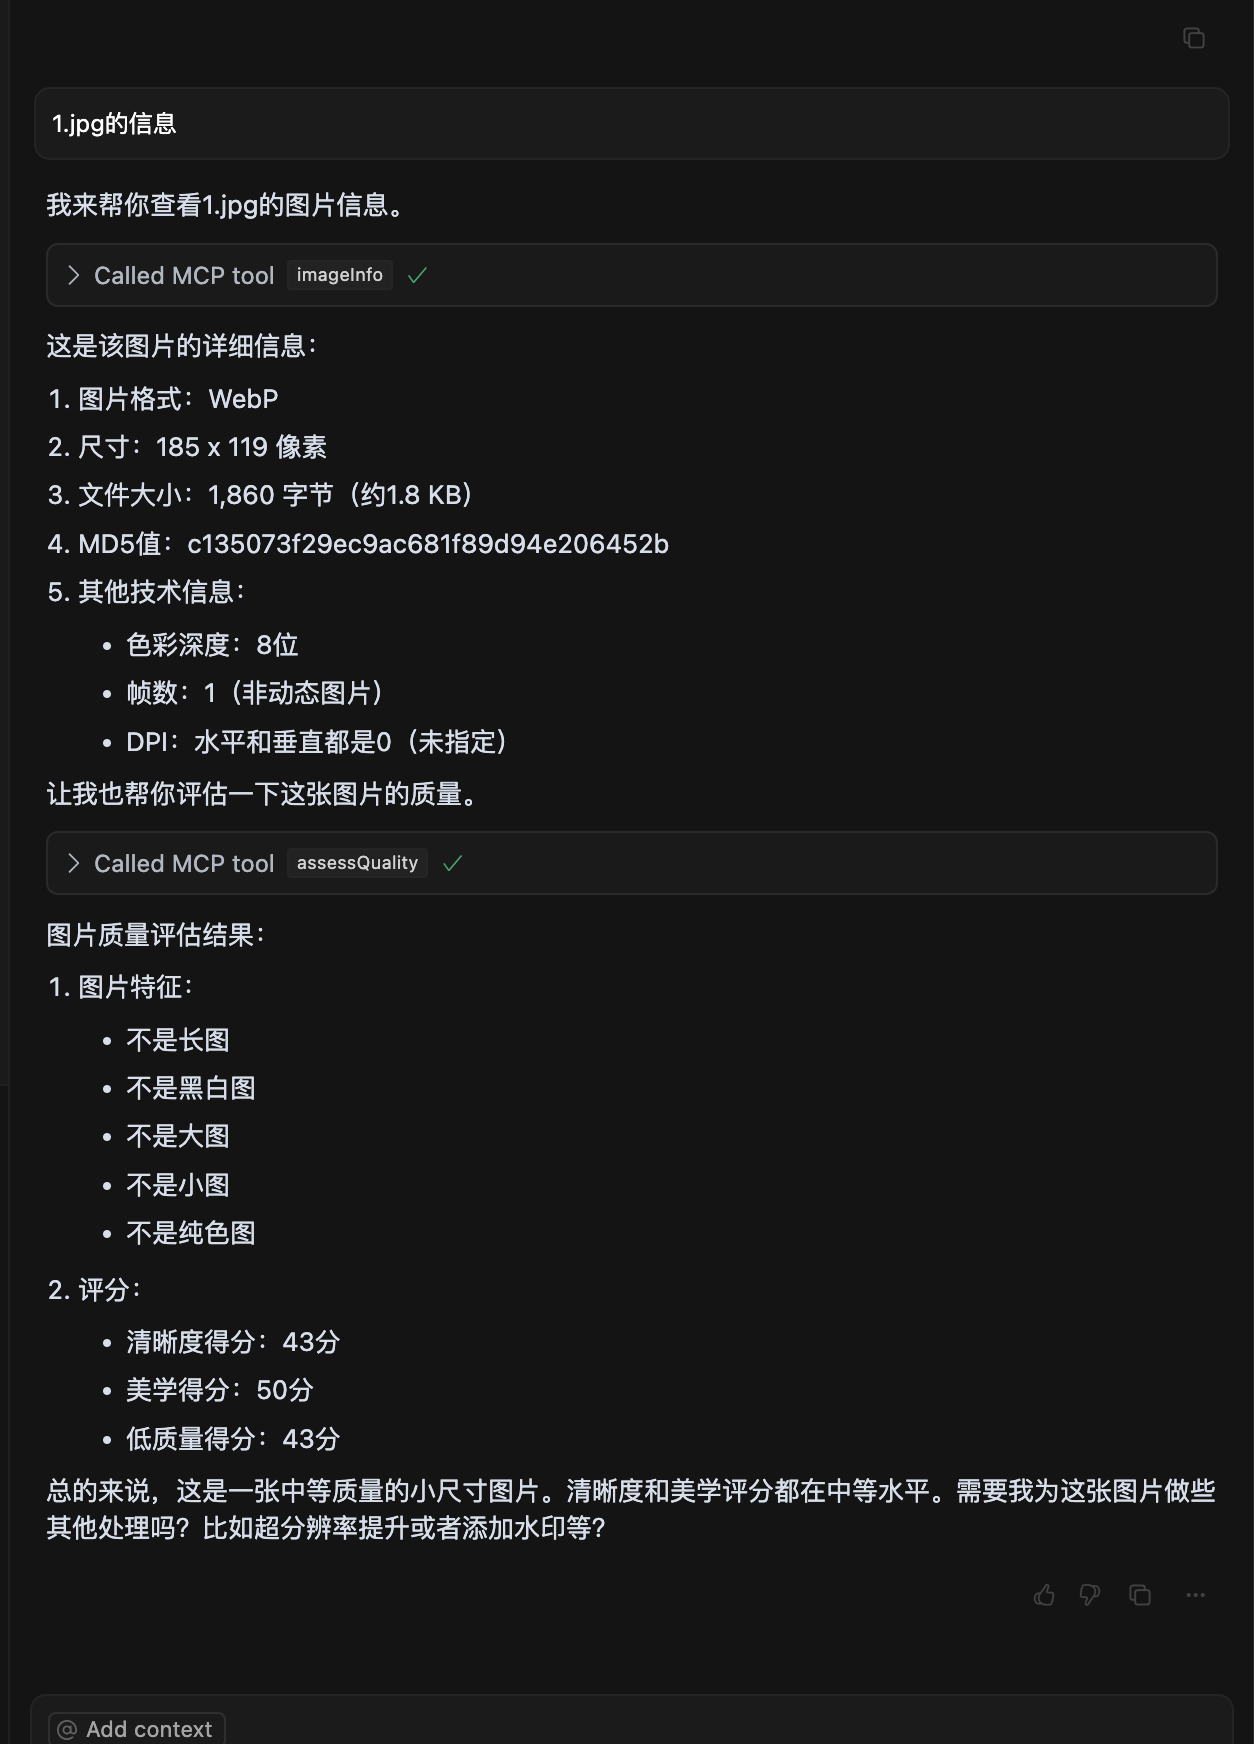
- 🖼️ Retrieve image information
- 🔍 Image super-resolution
- ✂️ Image cropping
- 📲 QR code recognition
- 🏆 Image quality assessment
- 🅰️ Text watermarking
- 🎬 Metadata/Natural Language Search (MateInsight)
- 📄 Document to PDF conversion
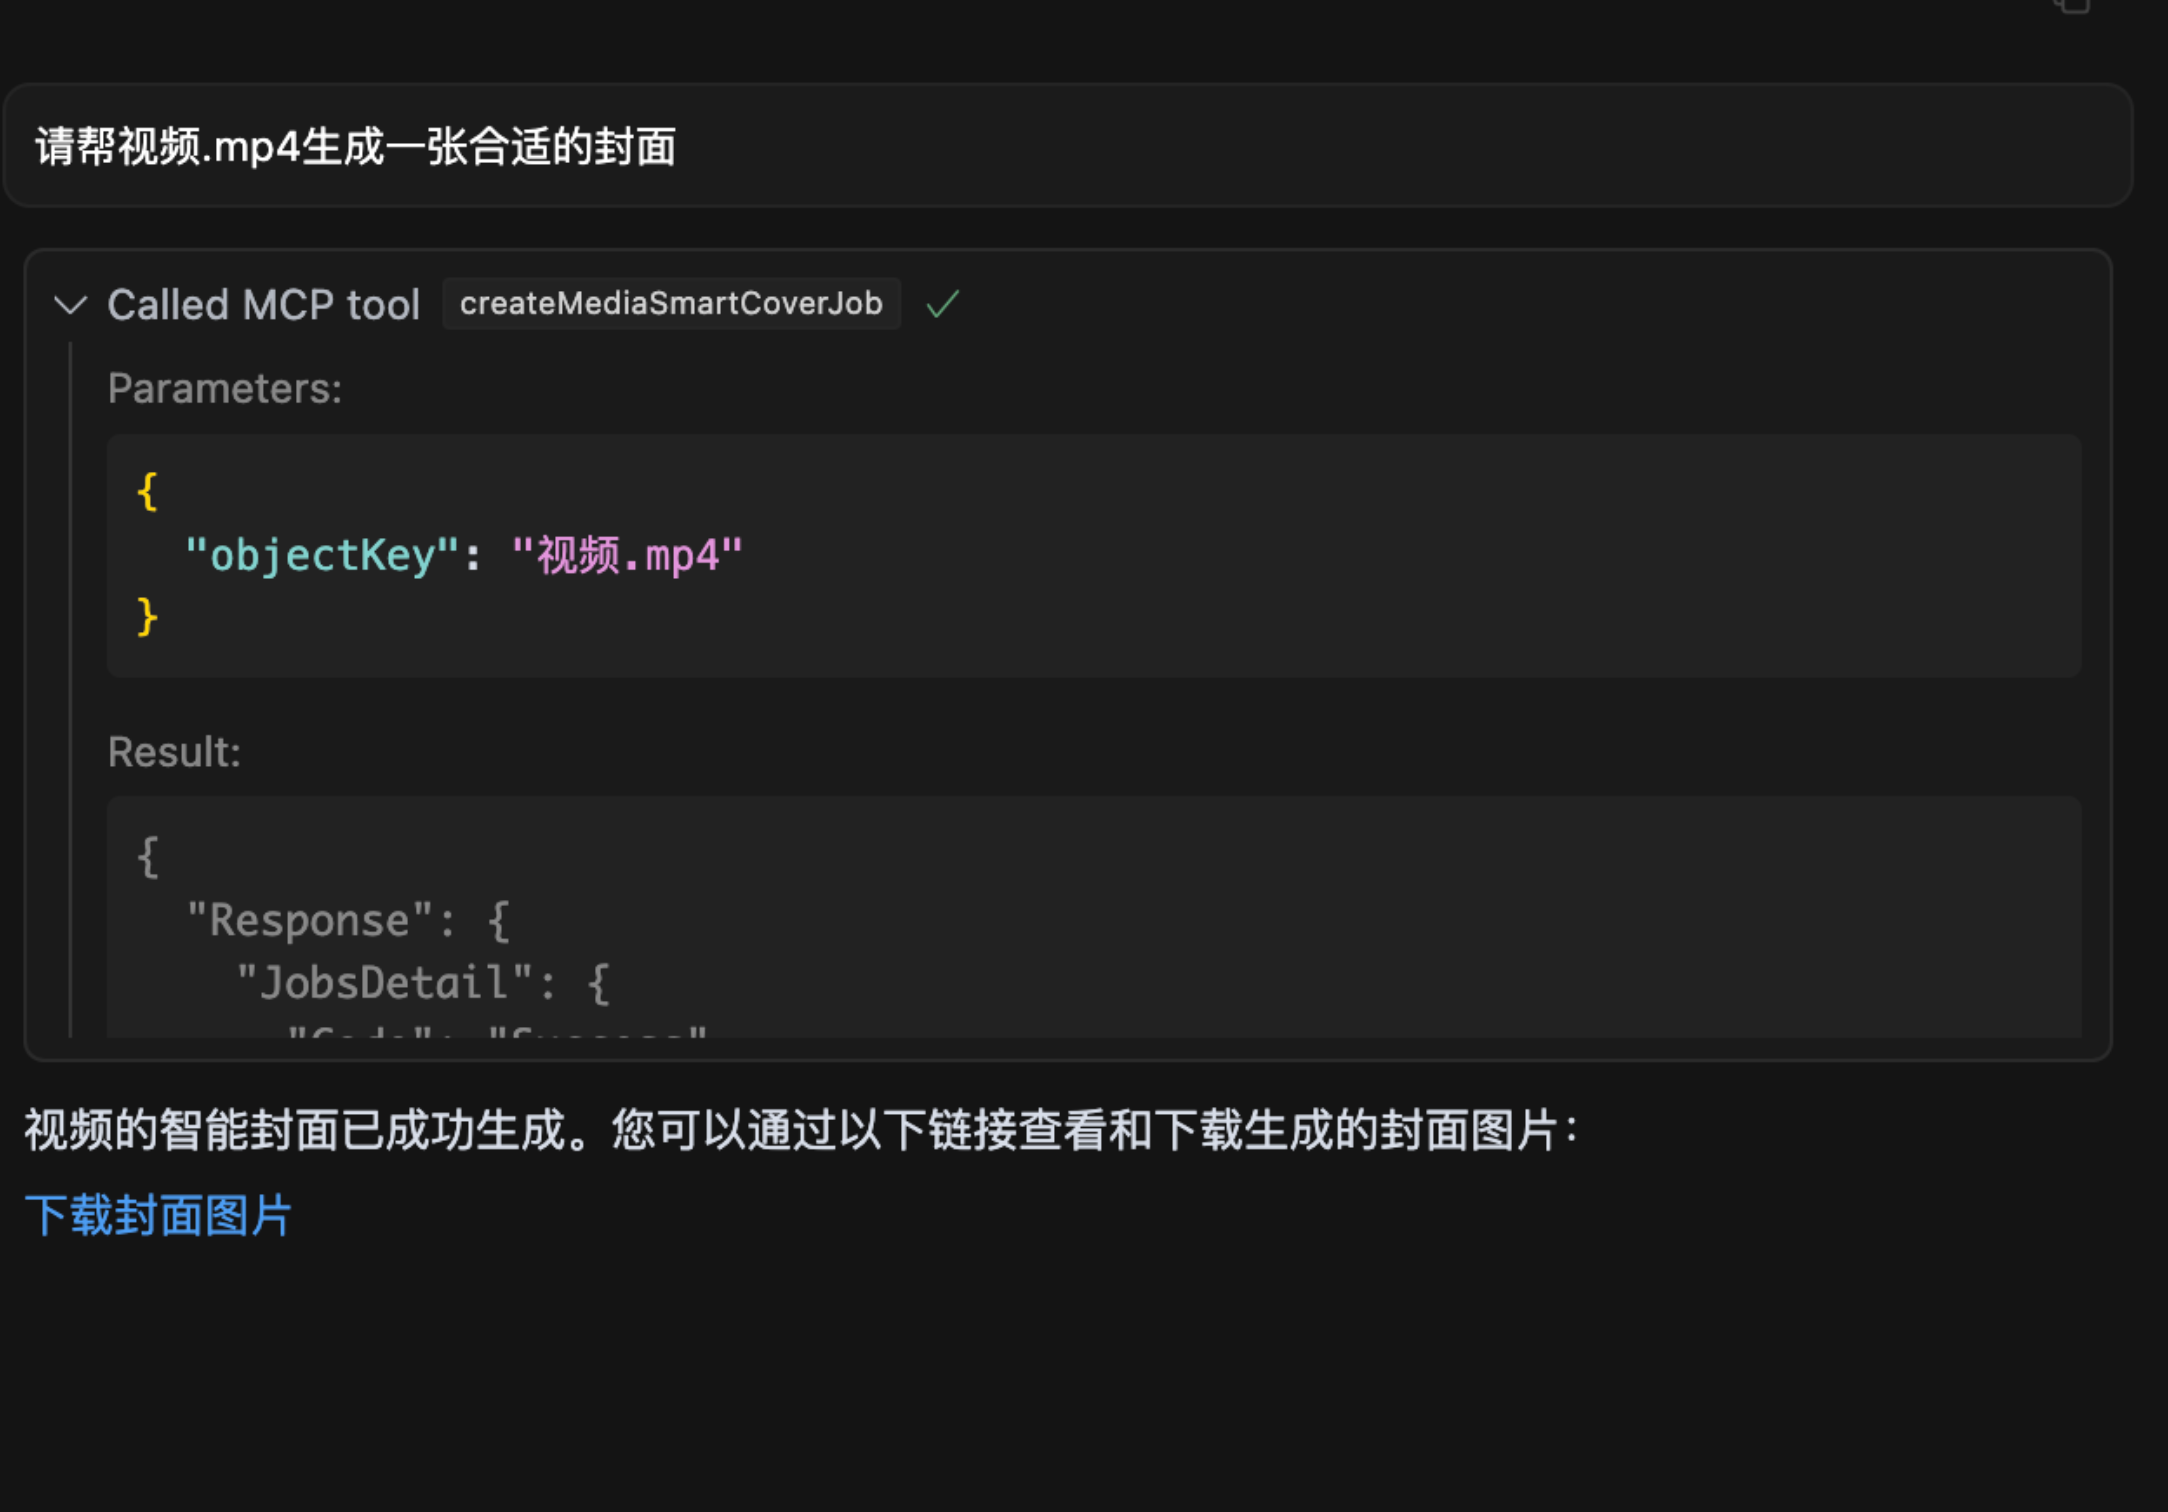
- 🎥 Video thumbnail extraction
- Upload text/images/videos/audio data obtained from other MCP capabilities directly to COS cloud storage.
- Quickly transfer local data to COS cloud storage/backup via large models.
- Automate tasks with large models: batch transfer videos/images/audio/text data from web pages to COS cloud storage.
- Automate cloud processing of videos/images/audio/text data and transfer results to COS cloud storage.
- Upload files to COS
- Image quality assessment
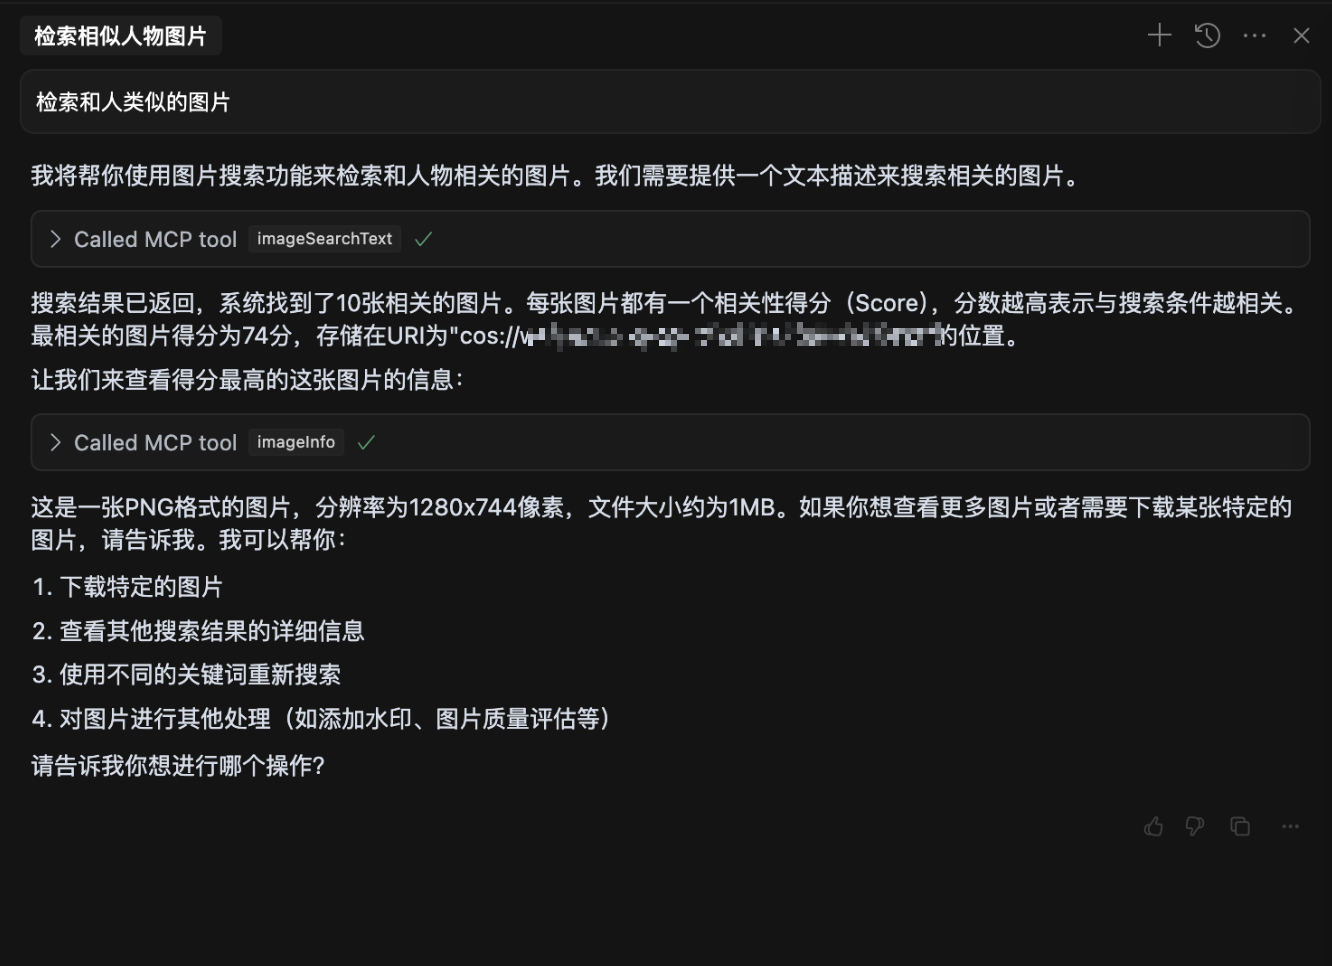
- Natural language image search
- Video frame extraction
To protect your data privacy, prepare the following parameters:
- Description: Tencent Cloud COS keys for authentication. Keep them secure and do not disclose.
- How to Obtain:
- Visit Tencent Cloud Key Management.
- Create a new key and copy the generated SecretId and SecretKey.
- Example:
mybucket-123456 - Description: The bucket name for storing data, equivalent to your personal storage space.
- How to Obtain:
- Visit Bucket List.
- Copy the bucket name. If no bucket exists, click "Create Bucket" and use the default configuration for quick setup.
- Example:
ap-beijing - Description: The region where the bucket is located.
- How to Obtain:
- Find the bucket in the Bucket List.
- Copy the region from the bucket's row, e.g.,
ap-beijing.
- Description: Optional parameter required for intelligent data retrieval operations.
- How to Obtain:
- Visit Dataset Management.
- Create a dataset and wait for indexing to complete, then copy the dataset name.
- Description: Optional parameter to specify the connection type, either
stdio(local) orsse(remote). - Default Value:
stdio
- Description: Optional parameter for setting the port when using
sseconnection type. - Default Value:
3001
When used within a large model (e.g., cursor), configure mcp.json as follows:
{
  "mcpServers": {
    "cos-mcp": {
      "command": "npx",
      "args": [
        "cos-mcp",
        "--Region=yourRegion",
        "--Bucket=yourBucket",
        "--SecretId=yourSecretId",
        "--SecretKey=yourSecretKey",
        "--DatasetName=yourDatasetname"
      ]
    }
  }
}
Alternatively, use JSON configuration:
{
  "mcpServers": {
    "cos-mcp": {
      "command": "npx",
      "args": [
        "cos-mcp",
        "--cos-config='{\"Region\":\"yourRegion\",\"Bucket\":\"yourBucket\",\"SecretId\":\"yourSecretId\",\"SecretKey\":\"yourSecretKey\",\"DatasetName\":\"yourDatasetname\"}'"
      ]
    }
  }
}
# Install
npm install -g cos-mcp@latest

# Run in SSE mode
cos-mcp --Region=yourRegion --Bucket=yourBucket --SecretId=yourSecretId --SecretKey=yourSecretKey --DatasetName=yourDatasetname --port=3001 --connectType=sse

# Or use JSON configuration
cos-mcp --cos-config='{"Region":"yourRegion","Bucket":"BucketName-APPID","SecretId":"yourSecretId","SecretKey":"yourSecretKey","DatasetName":"datasetName"}' --port=3001 --connectType=sse
When using SSE mode within a large model (e.g., cursor), configure mcp.json as follows:
{
  "mcpServers": {
    "cos-mcp": {
      "url": "http://localhost:3001/sse"
    }
  }
}
git clone https://github.com/Tencent/cos-mcp.git
cd cos-mcp
npm install
Create a .env file and configure the following variables:
Region='yourRegion'
Bucket='yourBucket'
SecretId='yourSecretId'
SecretKey='yourSecretKey'
DatasetName="yourDatasetName"
npm run start:sse
npm run build
The build output is located at dist/index.js.
{
  "mcpServers": {
    "cos-mcp": {
      "url": "http://localhost:3001/sse"
    }
  }
}
{
  "mcpServers": {
    "cos-mcp": {
      "command": "node",
      "args": [
        "${your work space}/dist/index.js"
      ]
    }
  }
}
After completing the above steps, you can run COS MCP Server from the source code.
- If an older version of the package is installed, replace
cos-mcpwithcos-mcp@latestin the commands to install the latest version. - If the globally installed
cos-mcpcommand does not work, it may be due to global variable issues. Use split variables or thenpxmethod to start:
The above command is equivalent to:npm install -g cos-mcp@latest cos-mcp --cos-config=xxx --port=3001 --connectType=ssenpx cos-mcp@latest --cos-config=xxx --port=3001 --connectType=sse - If parsing issues occur, it may be due to terminal sensitivity to double quotes. Modify the configuration parameters as follows and try again:
--cos-config='{\"Region\":\"yourRegion\",\"Bucket\":\"BucketName-APPID\",\"SecretId\":\"yourSecretId\",\"SecretKey\":\"yourSecretKey\",\"DatasetName\":\"datasetName\"}' --port=3001 --connectType=sse
About
35/F,Tencent Building,Kejizhongyi Avenue,Nanshan District,Shenzhen